Master Blocks
Image & Content block
Gutenberg editor doesn’t have the image and content block. Master Blocks comes with a powerful image and content block. With this block, you can display images along with text on pages and posts.
It features preset designs. Moreover, it allows you to customize the title and description, background, border, and more. The Image and content block allows to add any block inside it.
Activate the Image & Content block
Before you can enable the Image and Content block, it's essential to have the Master Blocks plugin installed and activated on your WordPress website. Make sure that you have installed and activated the Master Blocks for Gutenberg on your WordPress website. This plugin offers a convenient modular control panel that makes it easy to turn on or off any block as per your preference.
Unlock a world of creative possibilities without spending a penny. Experience the future of content creation with Master Blocks for Gutenberg Editor plugin!
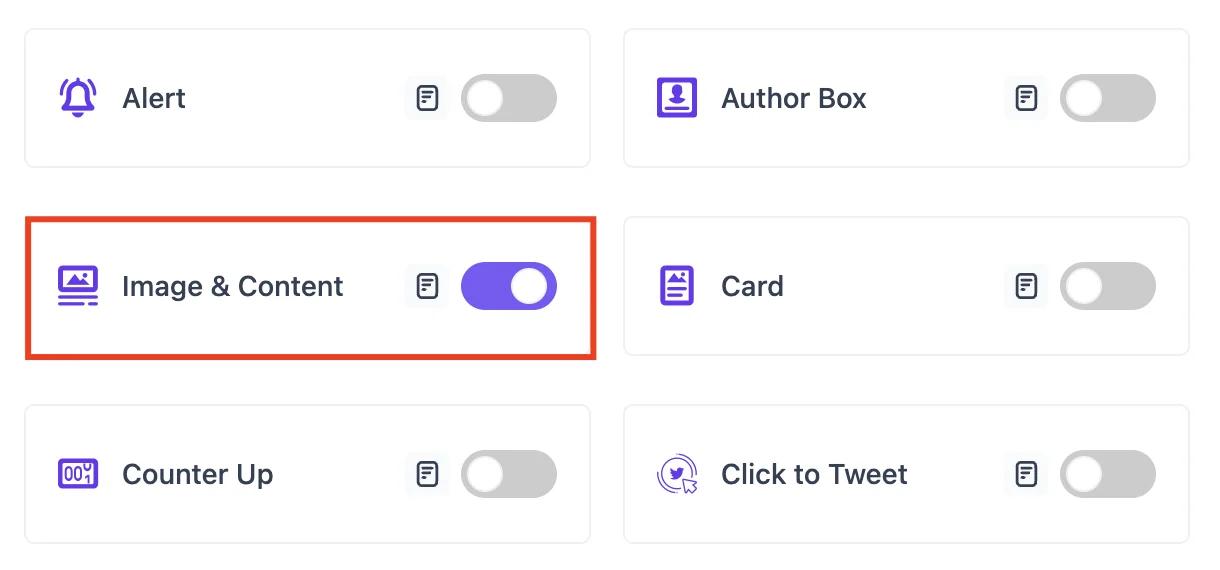
To activate the Image and Content block, navigate to Master Blocks > Blocks. Then, toggle to enable the Image and Content block. After that, click on Save Settings.
Setting up
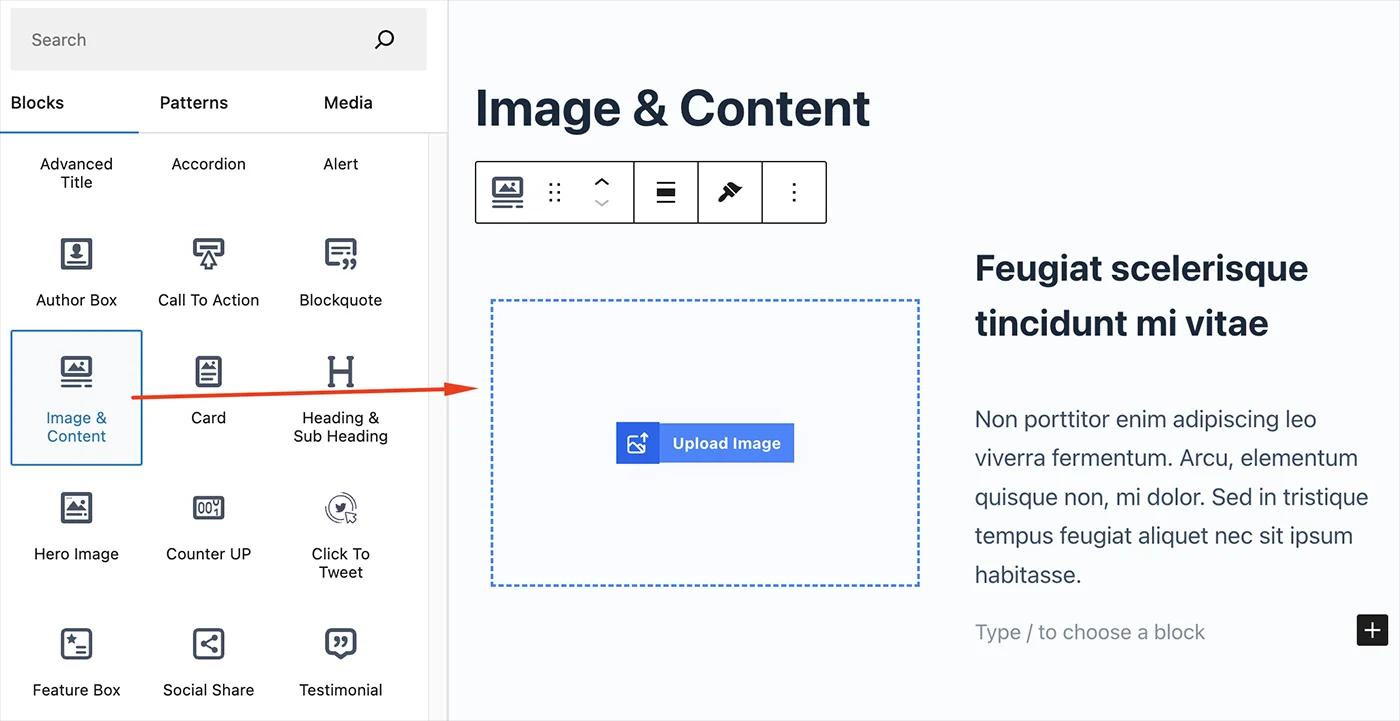
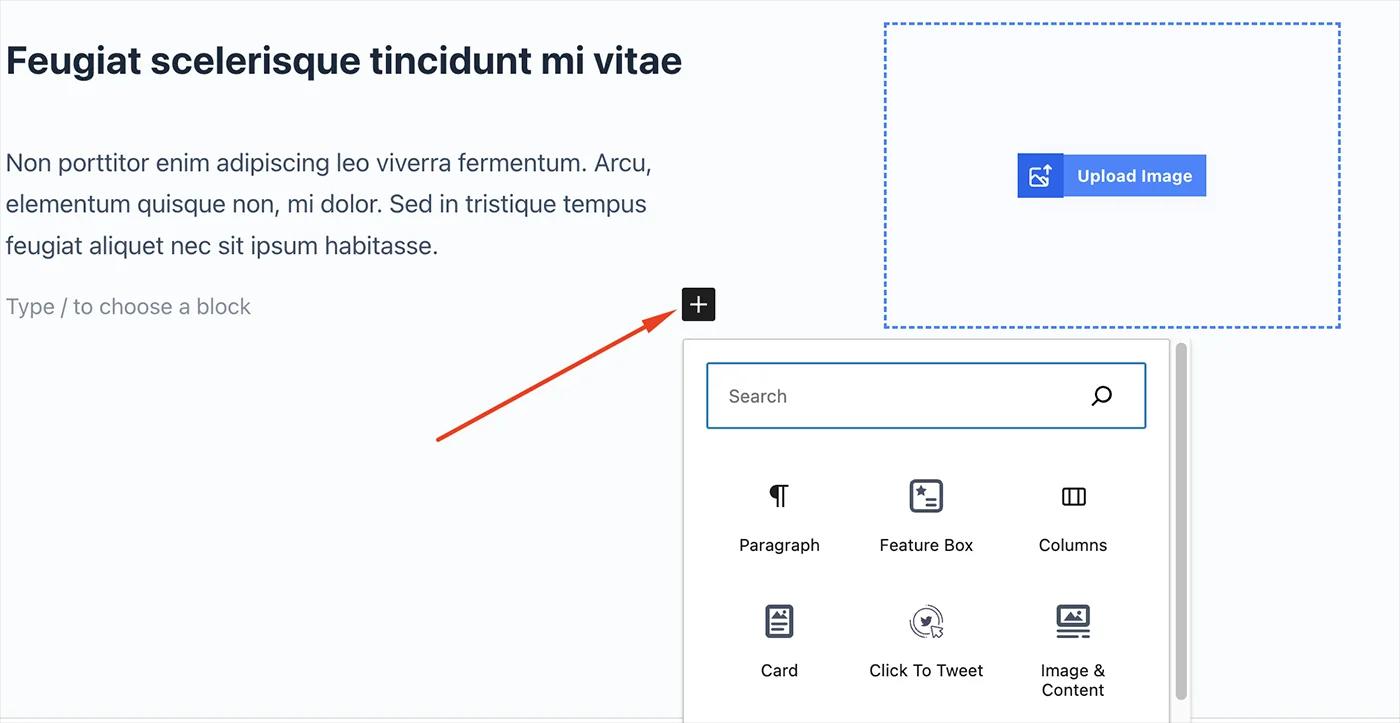
To add the Image and Content block, navigate to the top toolbar and click the "+" button, search for the Image and Content, and select it. Alternatively, navigate to the content area, click the "+" button, type in Image and Content and select it. The Image and Content block will be instantly added to your content field ready for customization.
Now add your desired image to the image section. Then, add the title and text to the content section. You can add any block inside the Image and Content Block. Adding a block inside the Image and Content block is the same as adding other blocks inside the content area.
The Image and Content block offers a lot of options for customization. You can customize every element of the Image and Content block.
For Image and Content block customization start with the Style tab.
Style
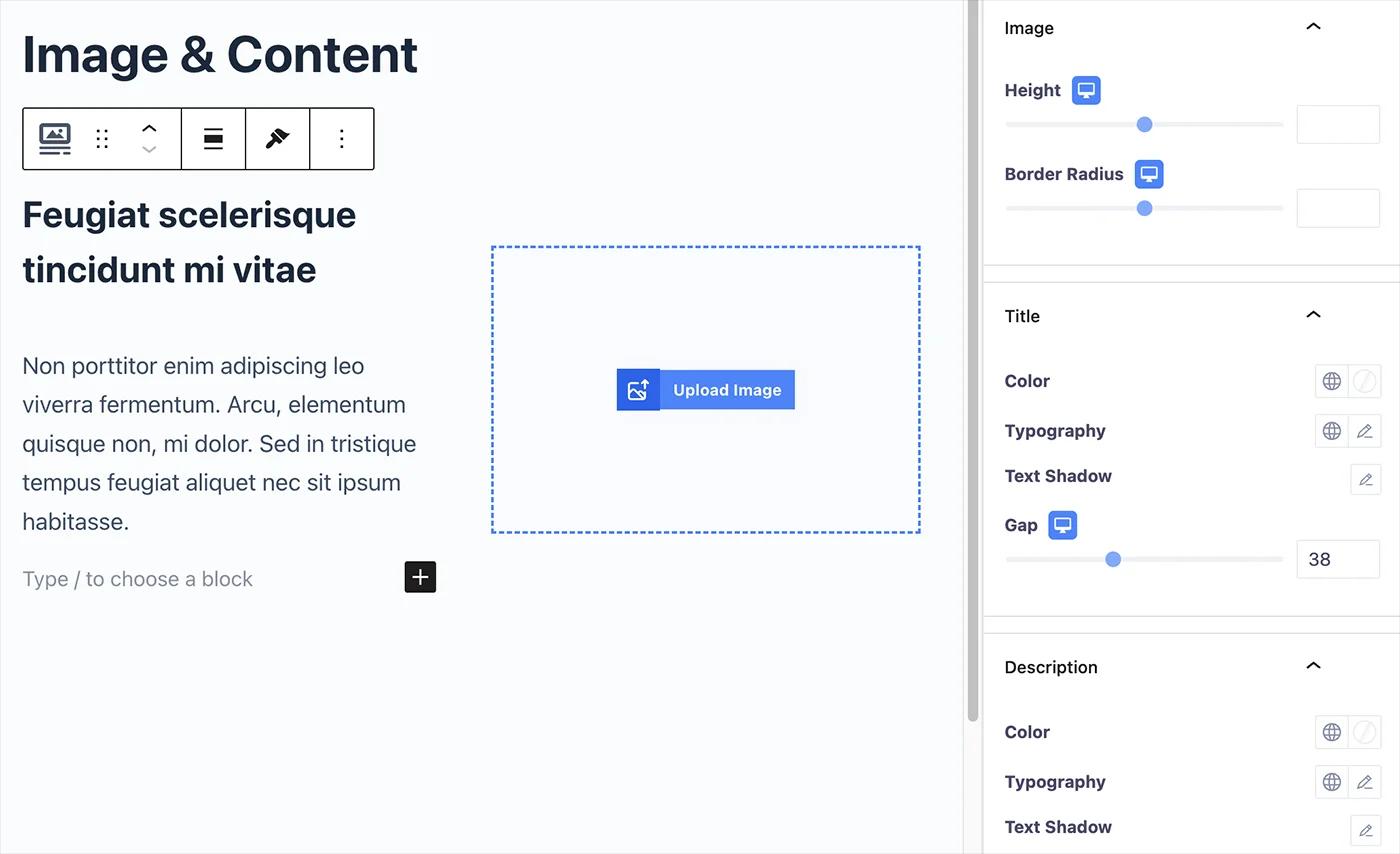
Navigate to the Settings option from the top and click on the Block > Style tab.
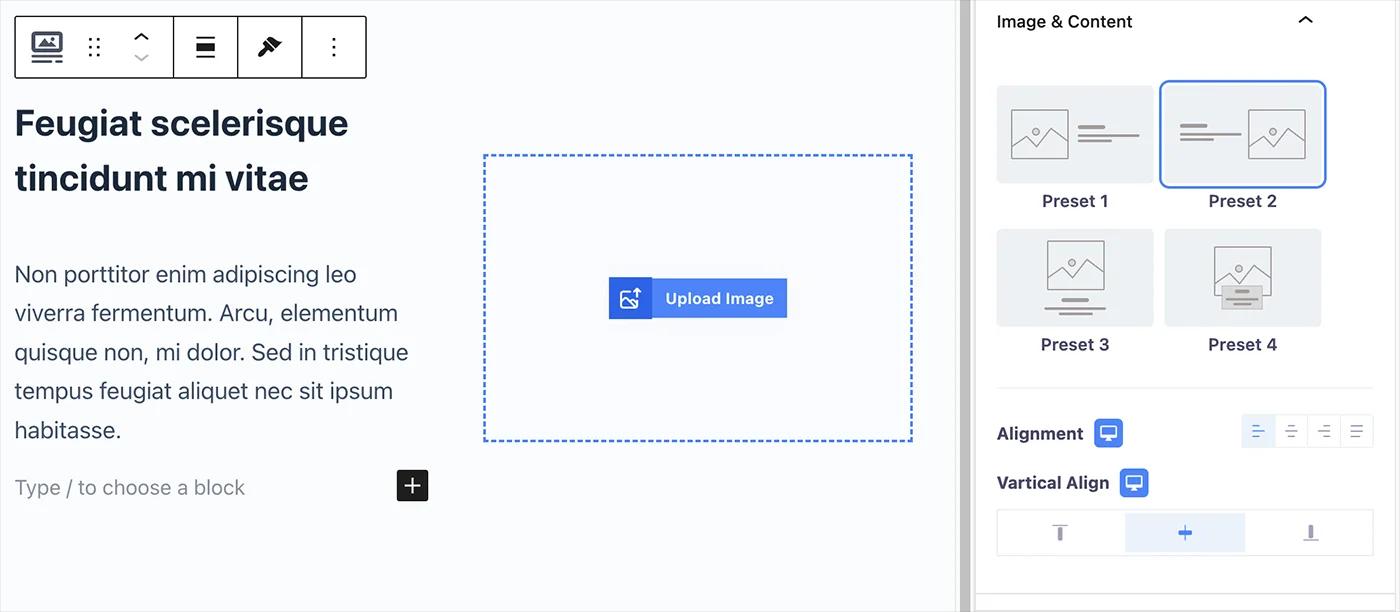
Choose the Image and Content block design from the Image and Content section. You can choose from four available preset designs.
Customize the image height, border radius from the image style option. Then Change title color, typography, text shadow, gap from the title option and same customization applies for the Description too.
Advanced
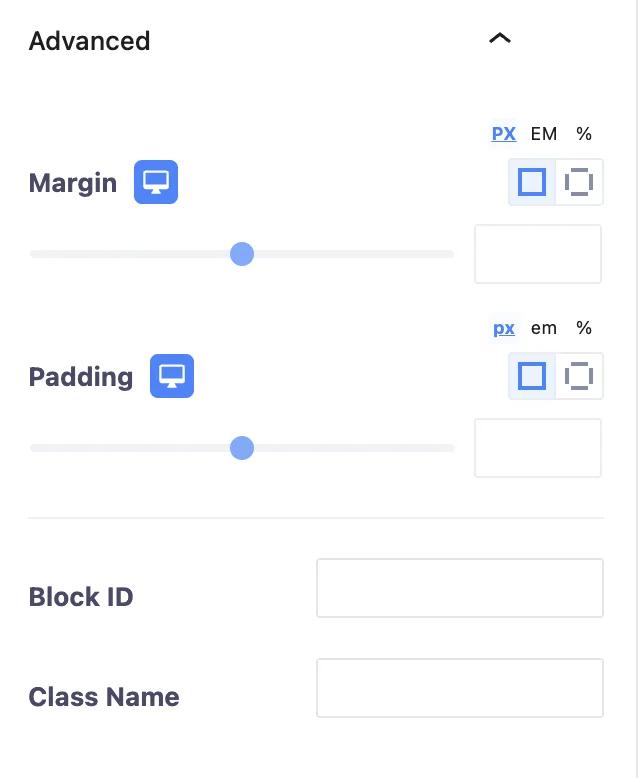
Change the Image and Content block’s margin and padding from the Advanced section. In addition, you can add CSS classes to the Image and Content block.
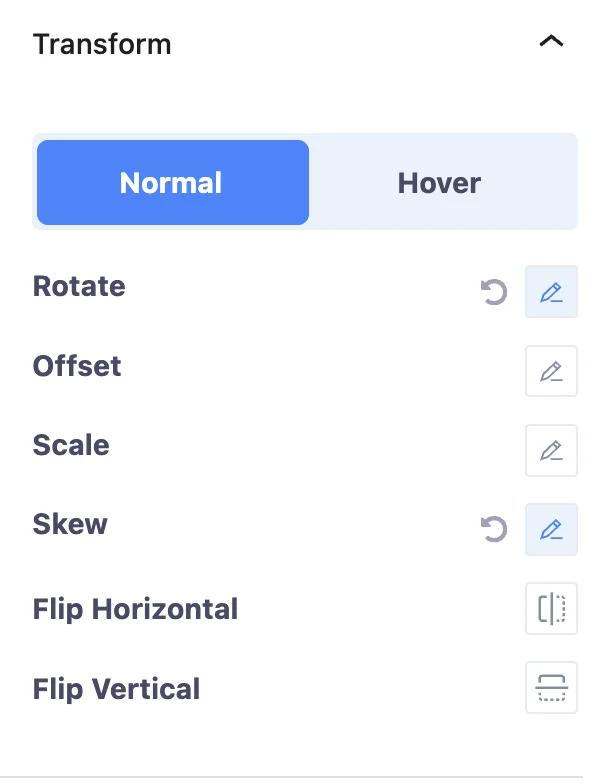
You can change the transformation of the Image and Content block and its hover using the Transform section. You can change rotation, offset, scale, and skew. Moreover, you can flip the Image and Content block horizontally and vertically.
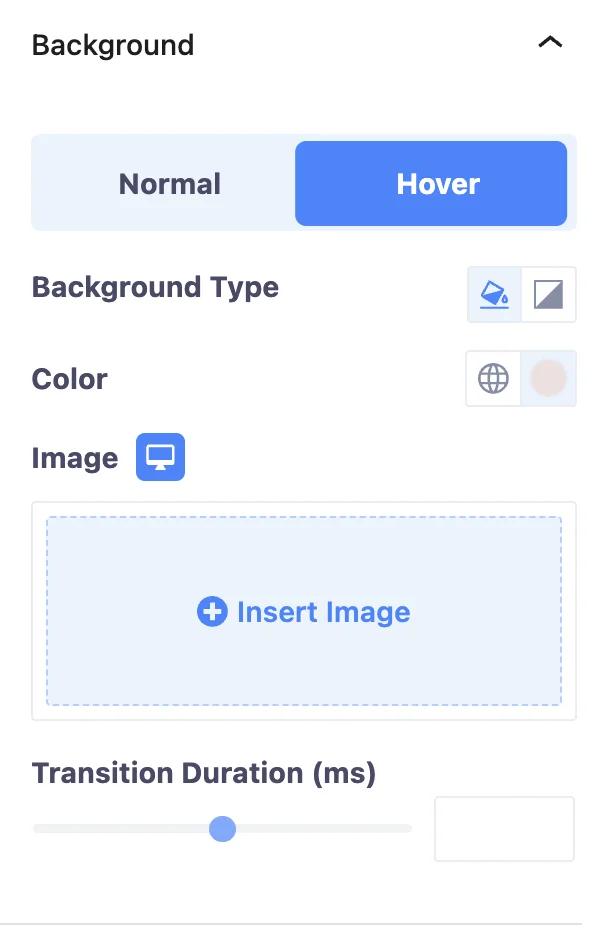
Change the background of the Image and Content block and its hover from the Background section. You can change the background type and color. Also, you can add an image to the Content and Image block background.
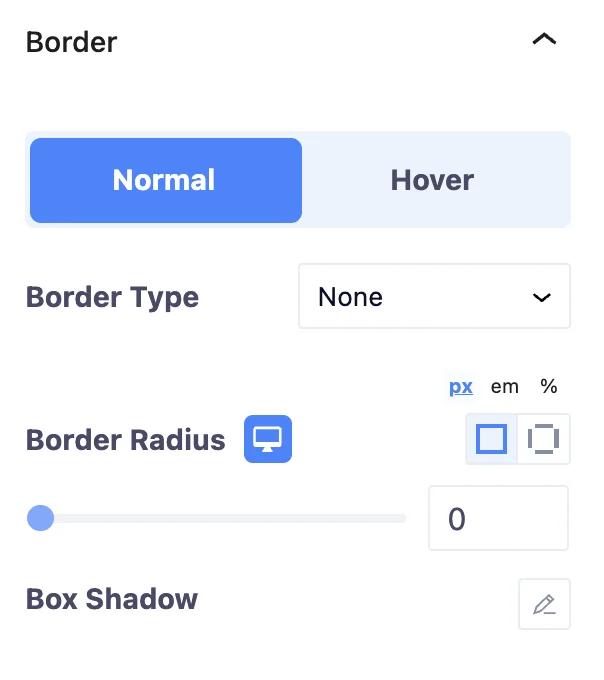
Add border to the Image and Content block and its hover using the Border section. You can change the border type, width, and color. Also, you can Image and Content block’s border radius and box shadow.
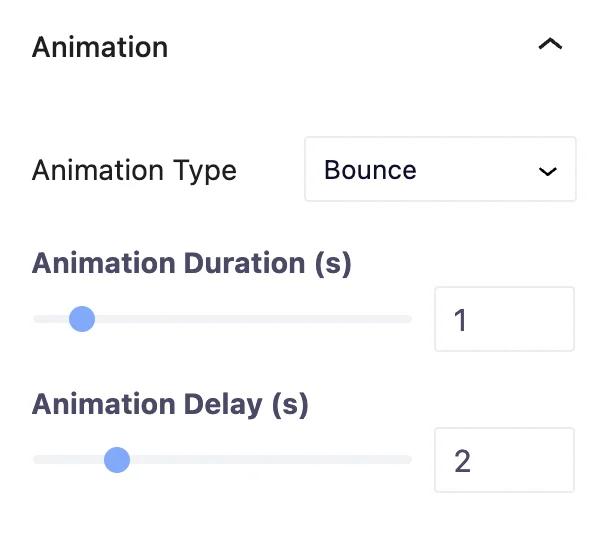
You can add animation to the Image and Content block using the Animation section. You can choose the animation type and set the animation duration and delay time.
Add mask to the Image and Content block from the Mask section. You can change mask shape, size, position, and repetition.

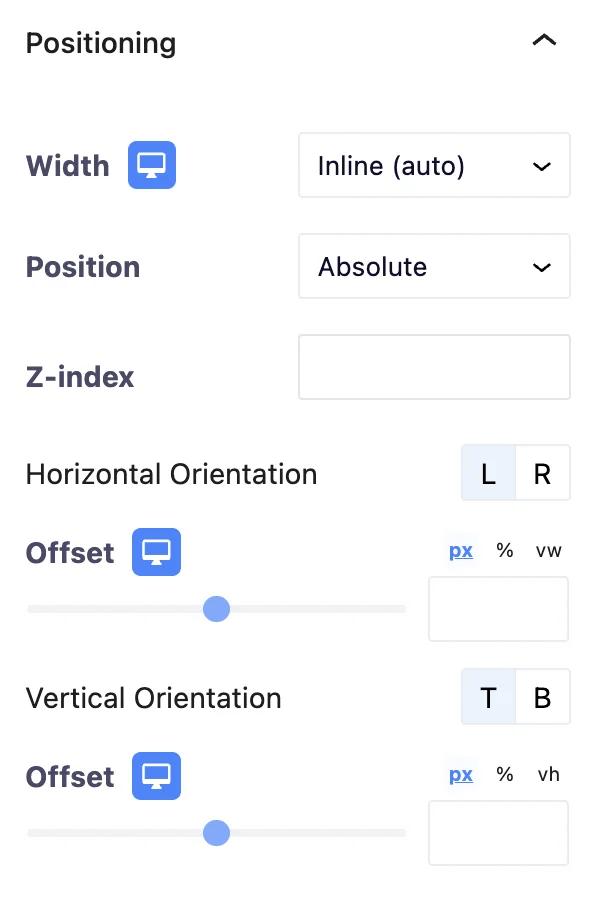
Change Image and Content block’s position from the Positioning section. It allows change Image and Content block’s width and position.
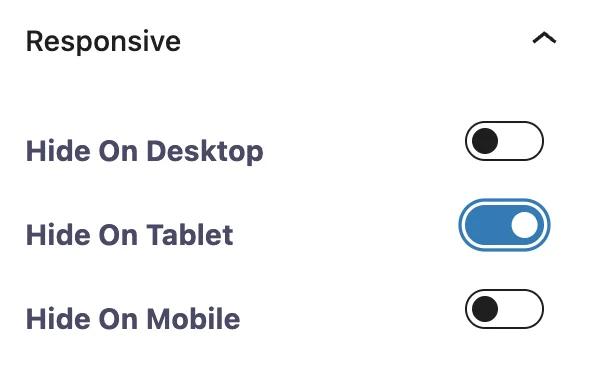
You can hide the Image and Content block from desktop, tablet, and mobile using the Responsive section.
You can add CSS classes to the Image and Content block from the Advanced section. That's all about Image & Content block.
Didn’t find what you were looking for? Get in touch!
Updated on June 16, 2023
Was this helpful to you?